
Left Navigation Panel
Messages
OVERVIEW
SpecWeb includes a built-in messaging system that enables seamless communication between Designers / Users, and external collaborators. This feature centralizes conversations within the platform, supporting efficient collaboration and streamlined project coordination.
Message Types
Two types of messages can be created: Internal and External.
Internal Messages
- Accessible only within the design firm.
- Used for communication between team members on the same internal team.
External Messages
These messages facilitate communication with external stakeholders and are grouped by category:
-
Client Messages
- Used for conversations between designers/users and clients assigned through Client Approvals.
- Note: This tab will only appear if the Client Approvals feature is enabled by an admin in Project Config.
-
Bidder Messages
- Enables messaging between designers/users and bidders assigned through Vendor Bids.
- Note: This tab will only appear if the Bids feature is enabled by an admin in Project Config.
-
SpecStore Messages
- Allows communication with manufacturers listed in the SpecStore.
- These messages must be initiated from within the SpecStore page.
QUICK TUTORIAL
Internal Messages - Create a Message
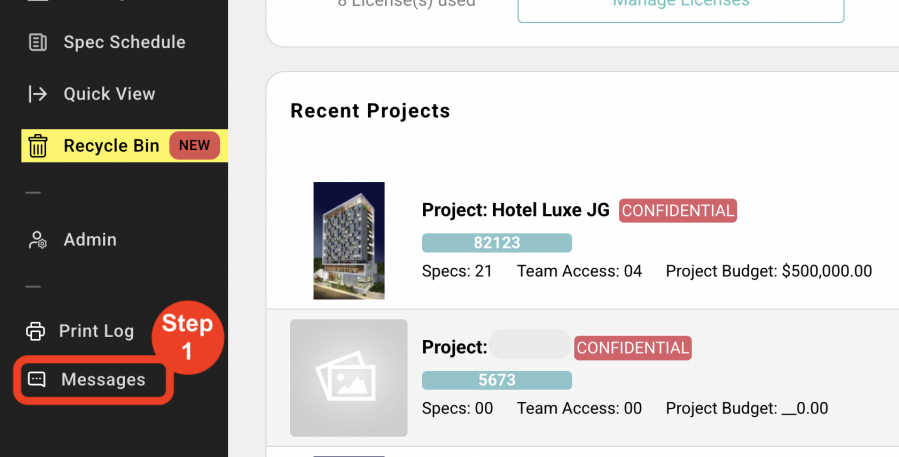
- Step 1: Click on 'Messages'.
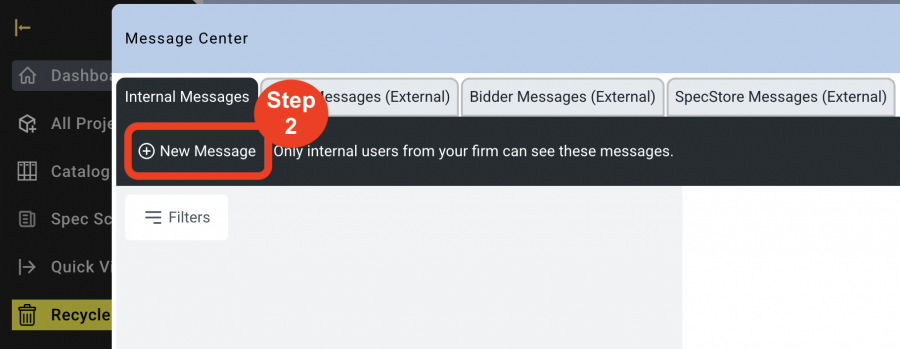
- Step 2: Click 'New Message'
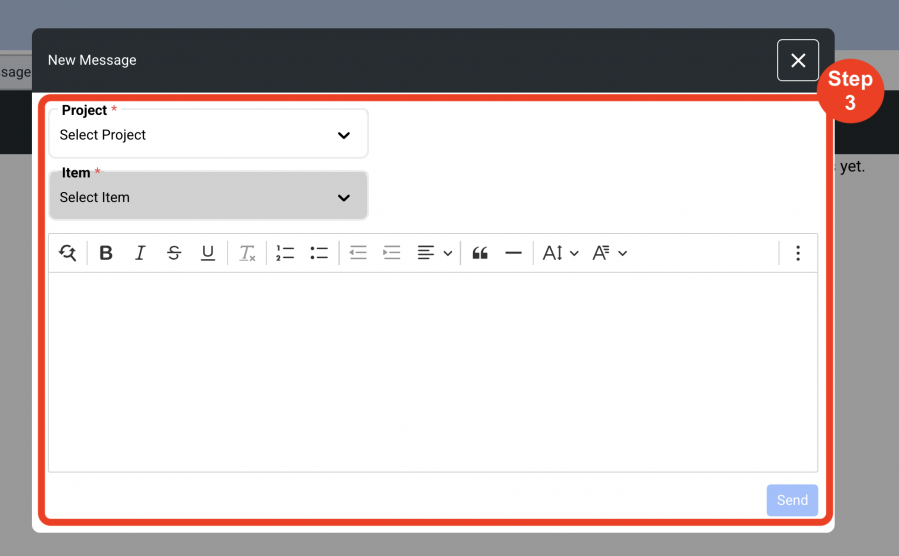
- Step 3: Select a Project from the Dropdown, select an Item from the Dropdown, enter the message in the textbox, and click on 'Send'.
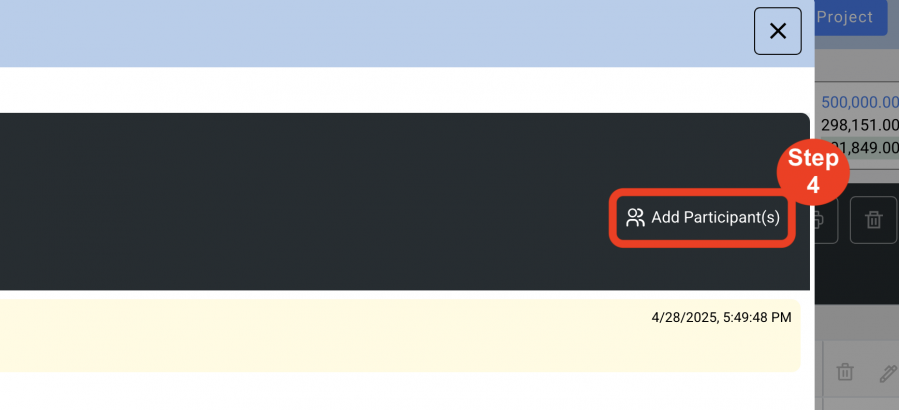
- Step 4: Click 'Add Participants'. Check the box next to the participants to add and click the '+'.
When participant is added to a conversation, a red dot will appear in 3 places.
1. Next to the Message icon on the Messages page in the black main left nav section.
2. Next to the Message icon on the Spec Schedule.
3. Next to the Message icon on the Spec Sheet.
NOTE: If no participants are selected, messages will be for just you.
IMPORTANT FACT: If a Message is created from the Spec, the Filter section on the left will automatically filter ONLY Messages for that Project and Spec. To see Messages from another Project or Spec, change the dropdowns in the Filter.
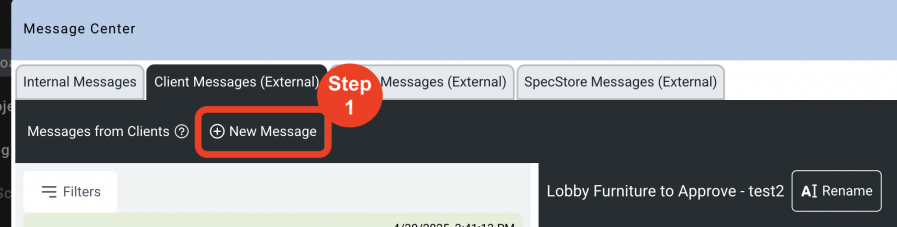
External Messages - Client Messages - Create a Message
NOTE: Client Messages should be initiated from the Client Approval page by creating a Client Approval Group.
- Step 1: Click 'New Message'.
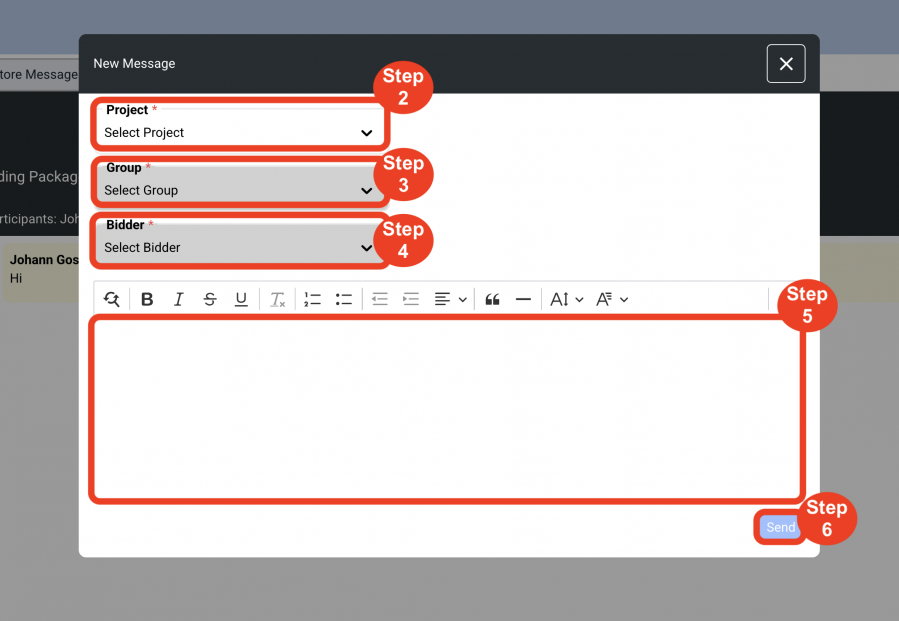
- Step 2: The Project dropdown will default to the current Project, but can be changed.
- Step 3: Select a Client Approval Group. These were created in the Client Approvals page.
- Step 4: Add a Message.
- Step 5: Click Send.

When there are Message responses from the Bidder, Message icons with red dots, indicating a response will appear in various places, including the Schedule, Client Approvals page and in Messages in the left black nav.
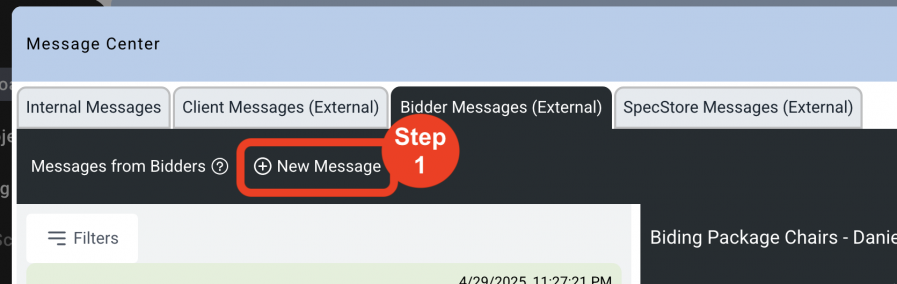
External Messages - Bidder Messages - Create a Message
NOTE: Client Messages should be initiated from the Client Approval page by creating a Client Approval Group.
- Step 1: Click 'New Message'.
- Step 2: The Project dropdown will default to the current Project, but can be changed.
- Step 3: Select a Bid Group. These were created in the Bids page.
- Step 4: Select a Bidder. These were added in Bids page.
- Step 5: Add a Message.
- Step 6: Click Send.
When there are Message responses from the Bidder, Message icons with red dots, indicating a response will appear in various places, including the Schedule, Bids page and in Messages in the left black nav.
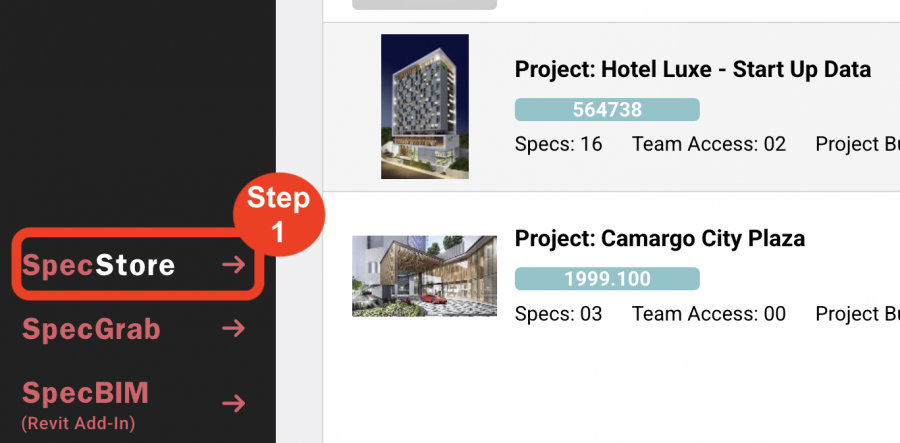
External Messages - SpecStore Messages - Create a Message
- Step 1: Open the Specsources' SpecStore.
- Step 2: Select a Category.
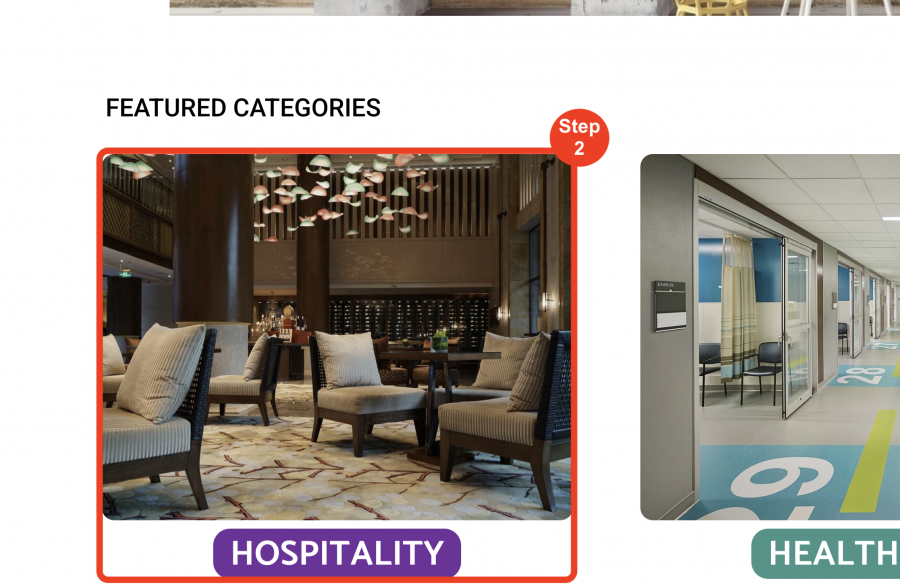
- Step3: Select a product.
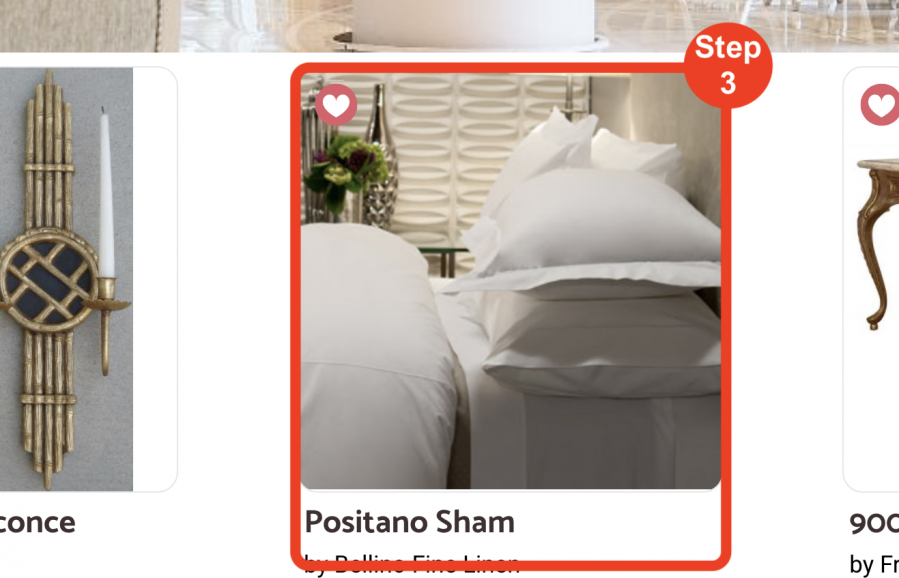
- Step 4: Click the Message icon to initiate a Message.

NOTE: Once a Message thread has started, it can be accessed through the SpecWeb Messages page.
