
Approvals
Client Approvals
OVERVIEW
Packages of Specifications can be created and shared with Clients for review and approval. This process facilitates streamlined collaboration, allowing Clients to engage with the content without requiring an additional license.
Client Approvals - Main grid
This displays a list of all Approval Groups created by the Designer / User, along with a Status and the number of Specs the Client has either Approved, Rejected or Approved with Comments.
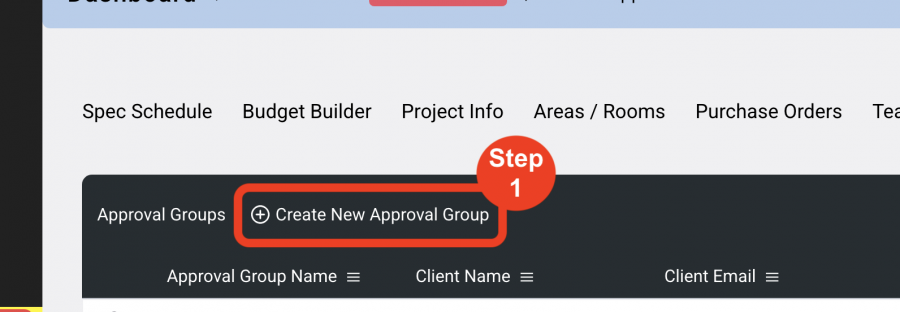
Create a Client Approval Group
- Step 1: Click 'Create a New Approval Group'.
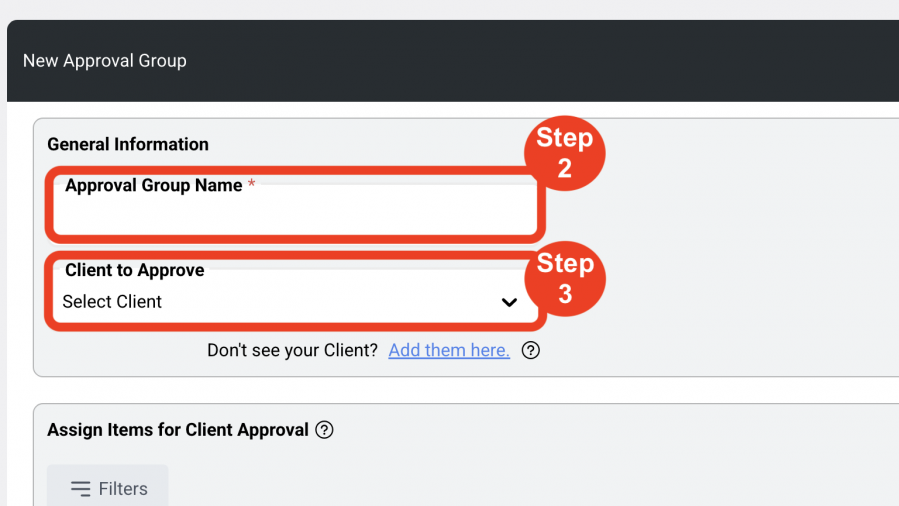
- Step 2: Enter an Approval Group name. IE. 'Lobby Furniture to Approve'.
- Step 3: Select a Client to Approve the group. This list is generated by the list of External Users in Admin>Designers / External Users.
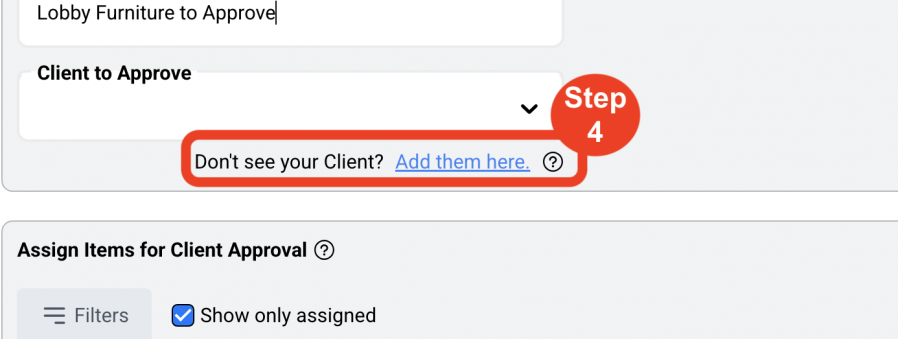
- Step 4: Add Clients.
If a Client has been used in a previous Project, they will be displayed below. Check the box next to the Client to assign the Approval Package to.
If the Client is not listed, Super Admins will have to add the Client in Admin>Designers / External Users before they can be added to the Approval Group.
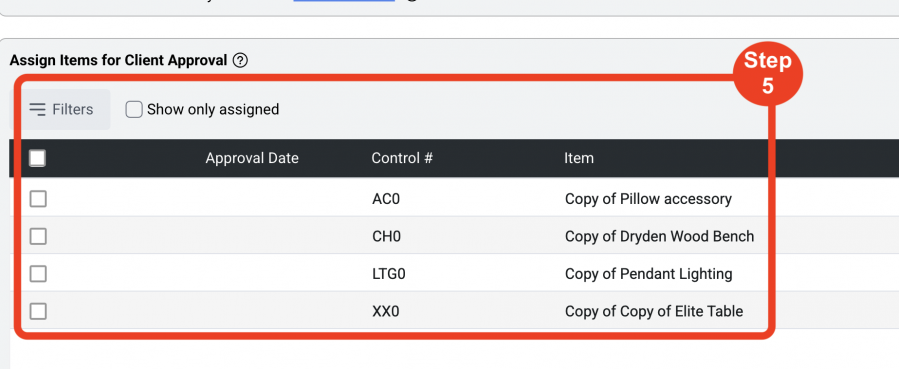
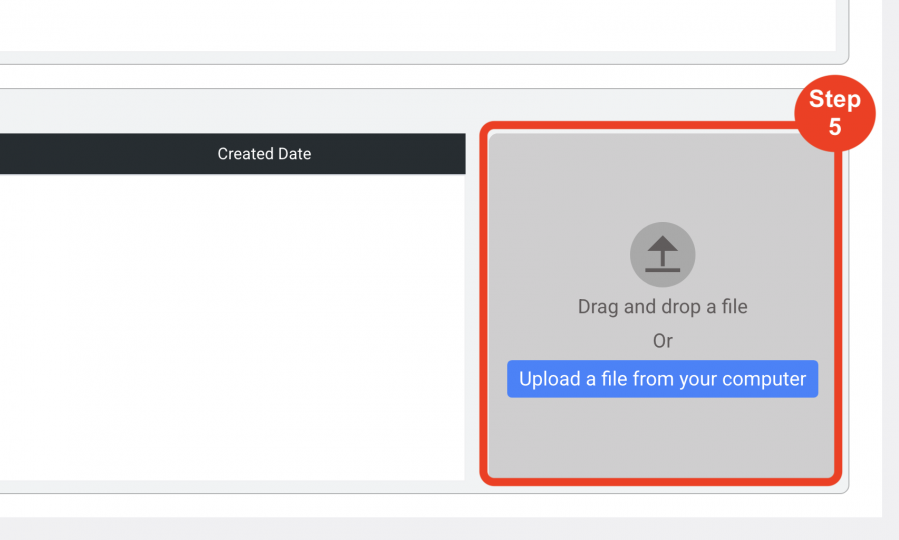
- Step 5: Select Specs from the current Project to add to the Approval Group by selecting the blue checkbox on the left of the row.
If Quantities and Prices are included, the Client will see those in their list of Items.
Files (PDFs) can also be uploaded to the group
ONLY Specs not assigned to another Approval Group will show in the list of Specs.
- Step 6: Click the Save icon in the upper right when done. When the Approval Group is saved, you will have the option to send a notify the Client via email that there are Specs ready for approval. This can always be done at a later time.

- Step 7: The grid of all Client Approvals will be displayed.
-From here, Invites for the Client can be sent.
-Client Approval status can be seen along with the number of items approved.
-To modify Items in the Approval Group, click the Edit pen icon.

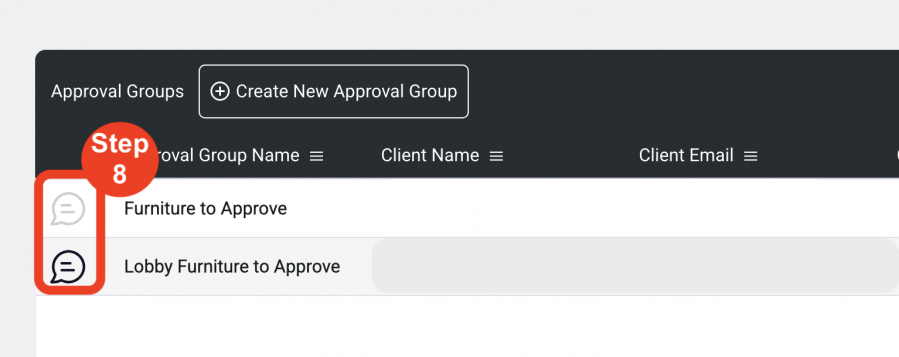
- Step 8: On the far left of each row is a message icon, where users can message their Client through SpecWeb.
NOTE: Icons will appear on the left of each Approval Group.
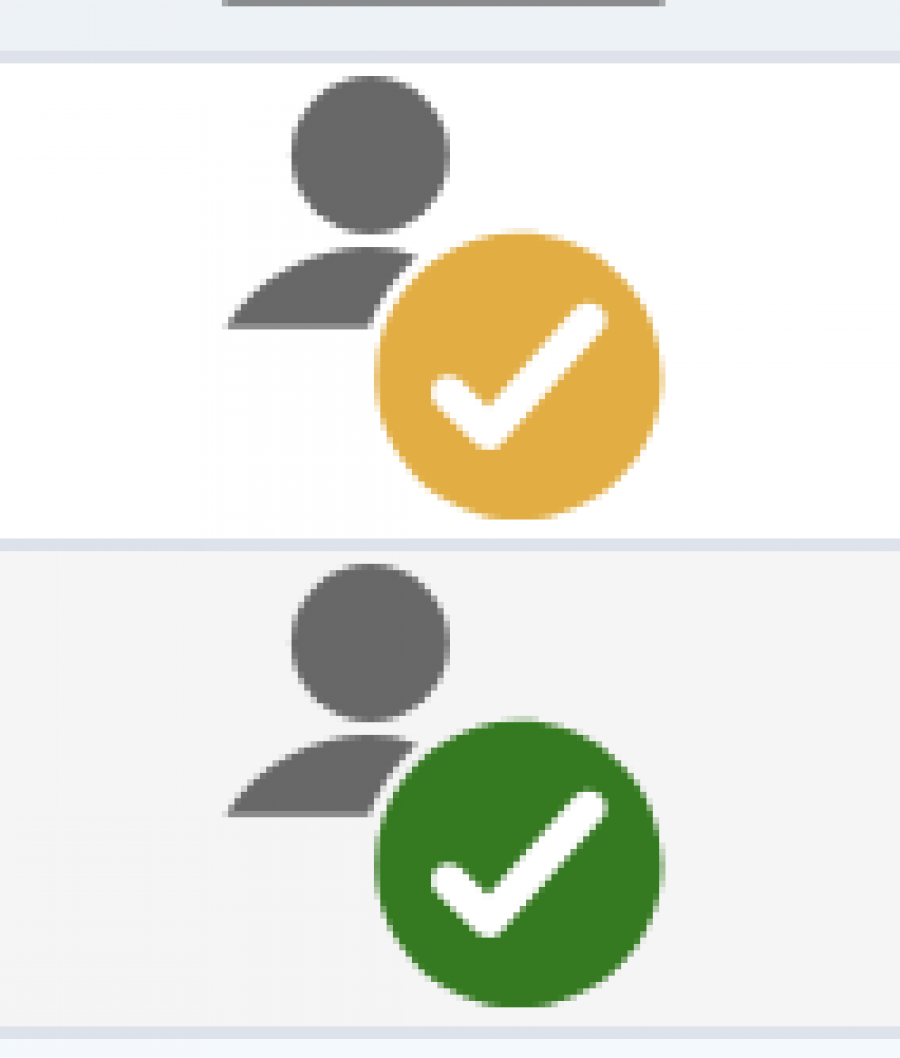
Icon Index - VIEW HERE
People Icon with Yellow Check: Item Approved with Comments.
People Icon with Green Check: Item Approved.
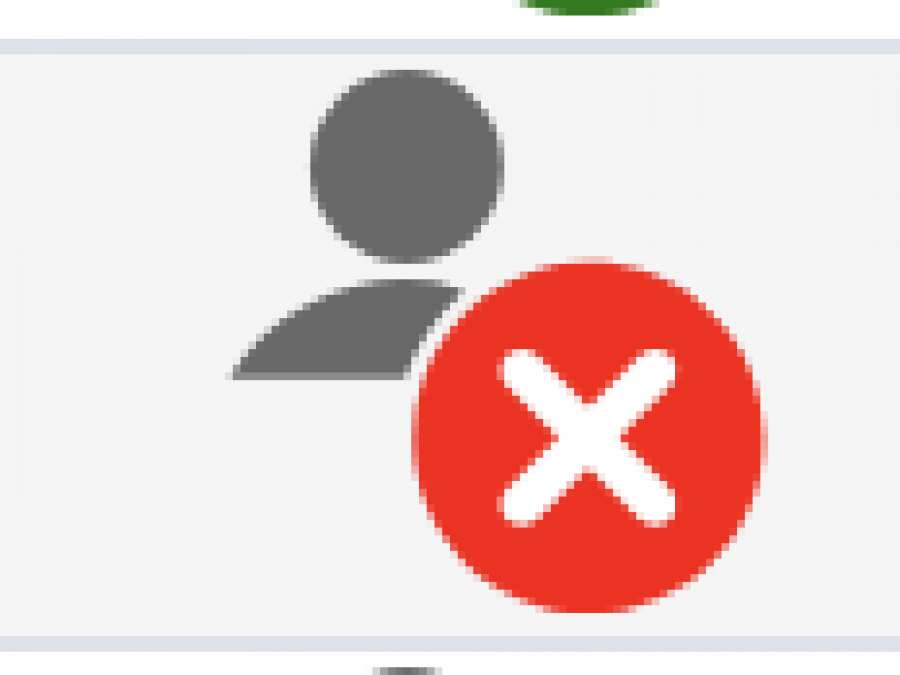
People Icon with Red X: Item Rejected.
CLIENT VIEW
Clients will see the following view and can approve Specs one at a time.

When Specs are approved, the User will see either:
Approved
Rejected
Approved with Comments
