
Create Spec
Create New Spec
OVERVIEW
A Spec (Specification) is a detailed record used to define an individual product, material, or fixture within a Project. It includes technical data, descriptions, supplier details, and any special instructions needed for accurate documentation, purchasing, and installation.
Creating a Spec involves selecting or entering key information such as:
-
Item Details
Name, description, manufacturer, model number, and catalog references. -
Specification Type & Item Type
Categorization for sorting and organizing Specs within the project (e.g., Lighting, Furniture, Plumbing Fixtures). -
Imagery & Documentation
Uploads such as product images, cut sheets, or manufacturer specifications for visual reference. -
Finish & Material Details
Color, material, or finish specifications, along with any customization notes. -
Pricing & Vendor Information
Cost breakdowns, vendor assignments, and associated quotes or purchasing data. - Item-Special Instructions
Notes or special handling instructions relevant to installation, delivery, or client requirements.
Specs may be created manually or imported from the Catalog, and can be edited at any time prior to finalization. Once complete, Specs are compiled into Spec Books and other project deliverables.
QUICK TUTORIAL
Create New Spec (7 Steps)
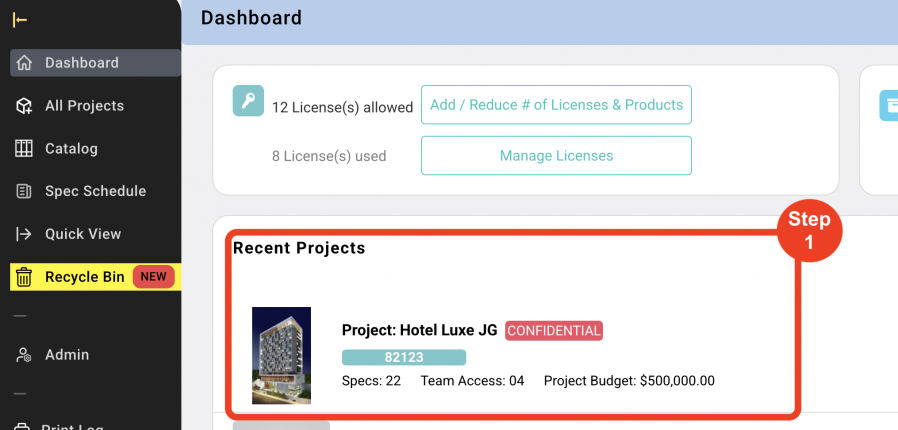
- Step 1: Go to Dashboard, click on a Project.
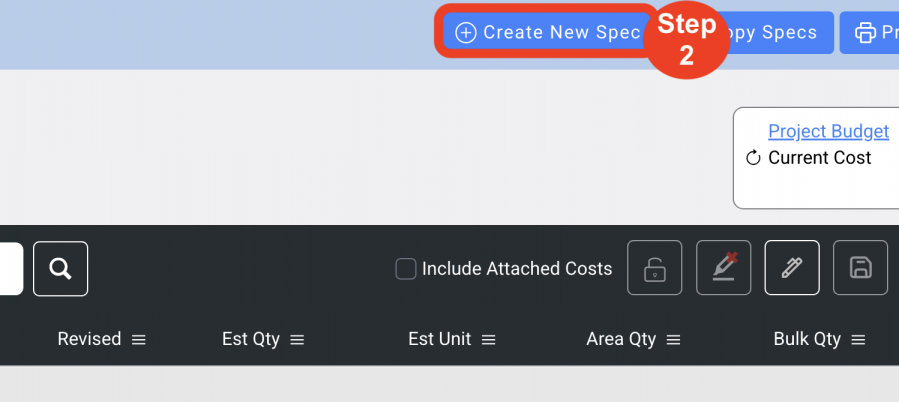
- Step 2: Click on the blue button ‘Create New Spec’ in the upper right corner.
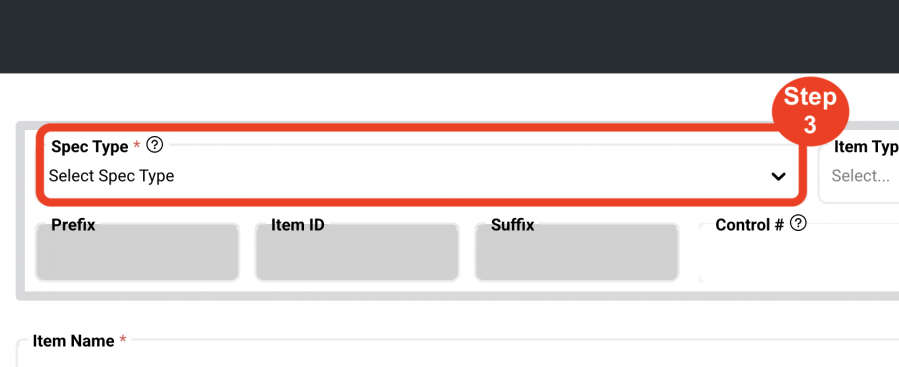
- Step 3: Select the Spec Type from the dropdown. (Required)
*Spec Types are created and managed by a Super Admin or Admin Panel Manager in Admin > Standards > Specification Types page. If the user doesn’t see a Spec Type that is needed for the Project, contact a Super Admin or Admin Panel Manager.
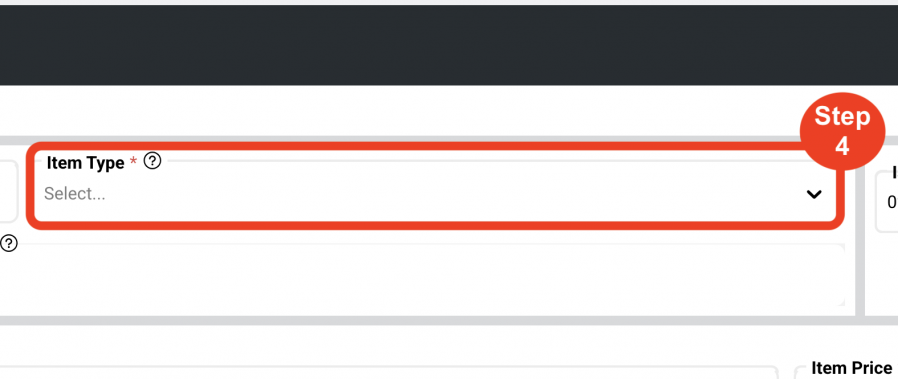
- Step 4: Select the Item Type from the dropdown. (Required)
*Selecting an Item Type is linked to the master settings created by the Super Admin or Admin Panel Manager in the Admin >Standards > Spec Types and Item Types / Templates pages. Selecting the Item Type automatically generates the item number for the Item based on the pre-selected Prefixes, Delimeters, Numbers and Suffixes. The Item Number can be edited after the Spec Sheet is created.
Pending the Control # Config that was determined in the Admin page, there may also be an additional dropdown to select ‘Area’.
Item Types are set up and managed by a Super Admin or Admin Panel Manager in the Admin> Standards > Item Types / Templates page and CANNOT be modified by any other role.
To add a new Specification Type or Item Type, contact a Super Admin or Admin Panel Manager.
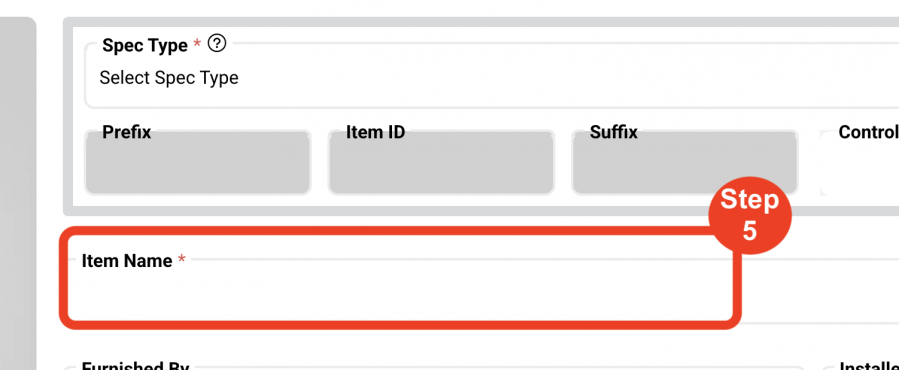
- Step 5: Enter an Item Name. (Required)
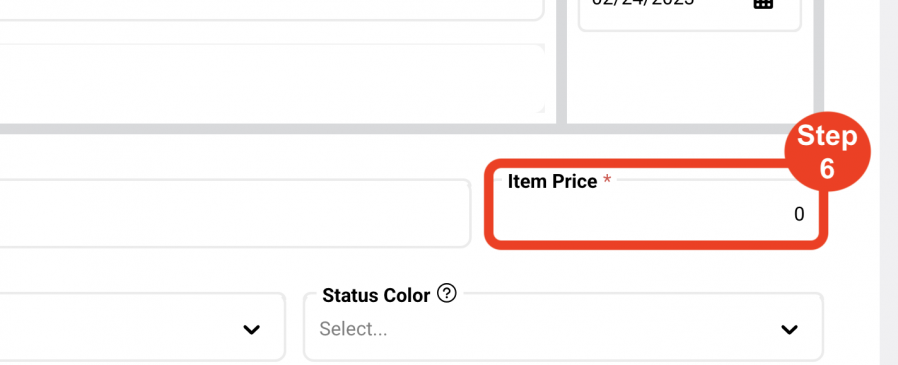
- Step 6: Enter an Item Price. (Required)
*A zero ‘0’ is auto filled with the understanding that not every user requires pricing.
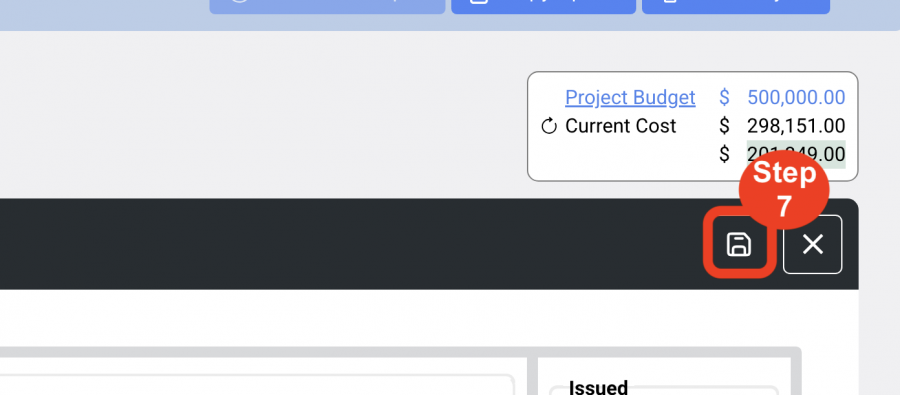
- Step 7: Click the Save icon.
Additional information that can be added prior to saving includes:
- Upload a Primary Spec Sheet Image. This image will print on the front of the Spec Sheet.
- Issued. Select the ‘Issue Date’ for the Spec Sheet from the calendar drop down.
- Furnished by. Select the ‘Furnished by’ entity for the Item. Selections include:
- Contractor
- Purchaser
- Owner
- Hotel
- Installed by. Select the ‘Installed by’ entity for the Item. Selections include:
- Contractor
- Purchaser
- Owner
- Hotel
- Status Color. Select a status color for the Item.
- *A Status Color is a means of color-coding an item based on a description and used as a visual queue in the Spec Schedule and Quick View. They are created by a Super Admin or Admin Panel Manager, ie.
- In Progress
- Completed
- Have questions
- Issued by. Select the designer creating the Spec Sheet.
- Revised by. Select the designer creating the Revisions.
- Lead Time. Enter the Lead time for the item in weeks.
