Project Sections
Project Info - Main Page
Project Info
OVERVIEW
A Designer / User can indicate a Project to be a confidential Project that only the Project Owner has access to view and work in. Other team members are required to be assigned to this Project by the Project Owner in order for them to be able to view it and work in it. This Project will be very clearly marked with a red rectangle with the word CONFIDENTIAL in white at the top of the page and next to the Project Name in the View All Projects list.
Designate a Project as Confidential (3 steps)
- Step 1: Select the check box next to the word ‘Confidential’.
- Step 2: Select a Project Owner from the dropdown menu.
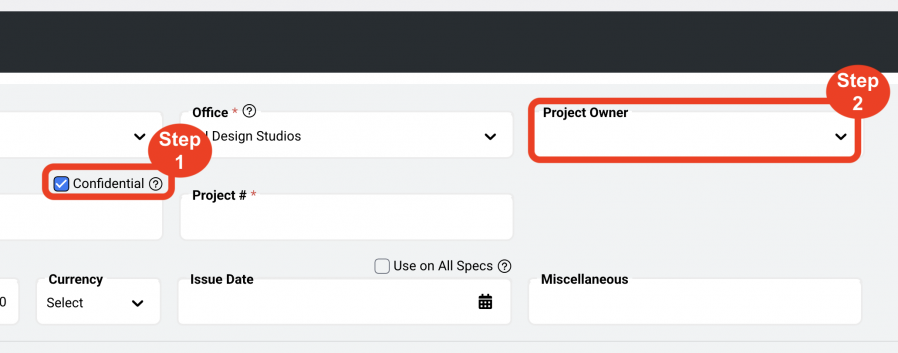
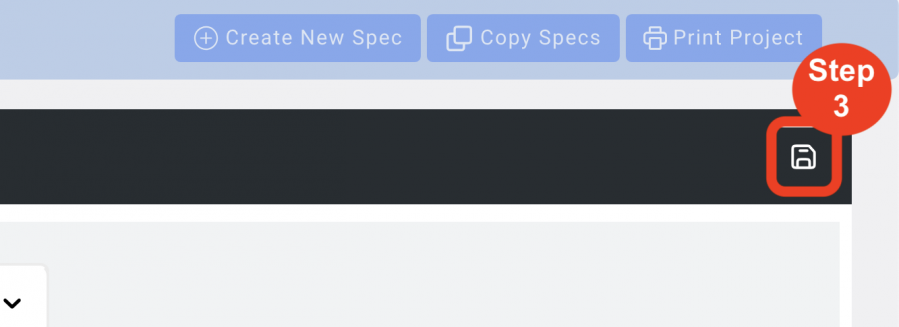
- Step 3: Click the 'Save' icon
Project Budget / Budget Tracker
OVERVIEW
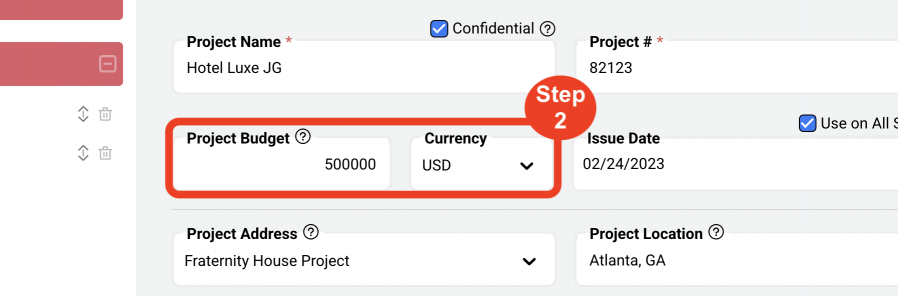
This field relates to a Budget Tracker feature that can be activated to track the actual cost of items, entered in the Item’s Budget pull-out tab, against the project budget entered here in project info.
A tracking “bubble” will appear in the upper right side of the navigation and will be visible at all times in order to see, real time, if the Actual costs exceed the Project Budget.
- Step 1: Turn on the Budget Tracker feature in a Project > Go to Project Config page > select Project Budget > click Save icon.

- Step 2: Enter a Project Budget in Project Info.
- Step 3: Go to an Item > Click on the Budget pull-out tab > enter Actual Costs for the Item.
- Step 4: Click the Save icon at the top of the Budget pull out tab.

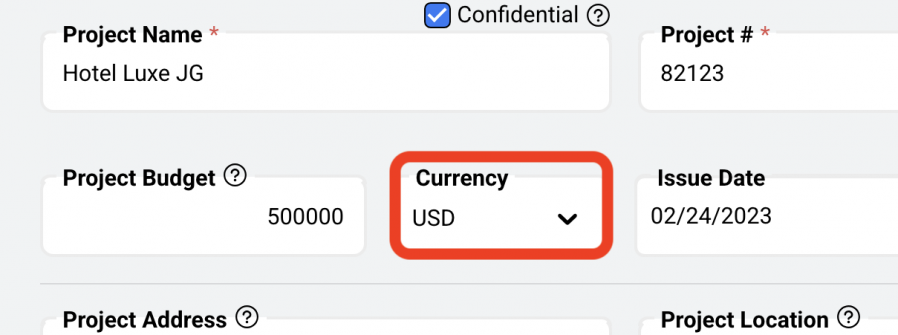
Currency
OVERVIEW
A single Currency can be selected for a Project from a dropdown list. The Currencies listed have been entered in the Admin > Currency page by a Super Admin or Admin Panel Manager role. A Currency must be selected in order to run Cost Reports.
Issue Date
OVERVIEW
An Issue Date can be assigned to a Project to signify the first issuance of specifications. A date can be selected from the calendar icon or clicking in the Issue Date field.
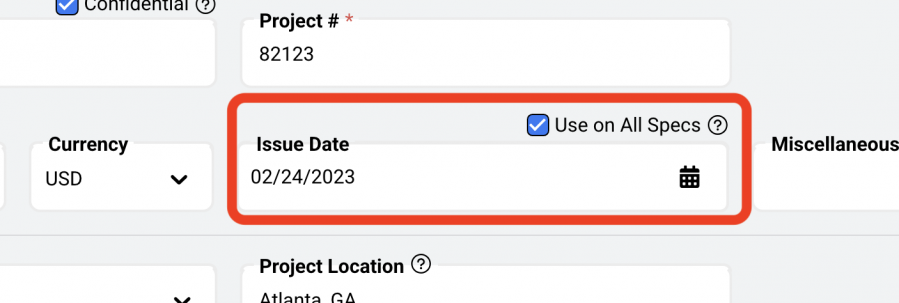
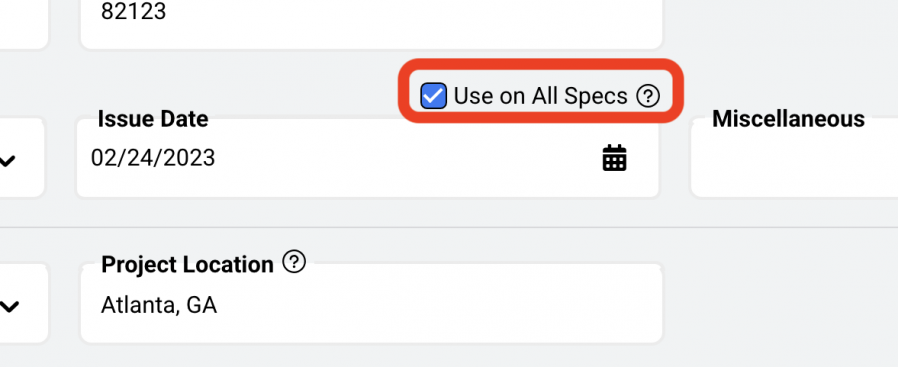
Use on all Specs
Is a check box option that will enable that date to be placed on all ‘Create New Spec’ Spec Sheets. As long as this box is selected, any date populating the Issue Date field in Project Info will be placed on the Spec Sheets.
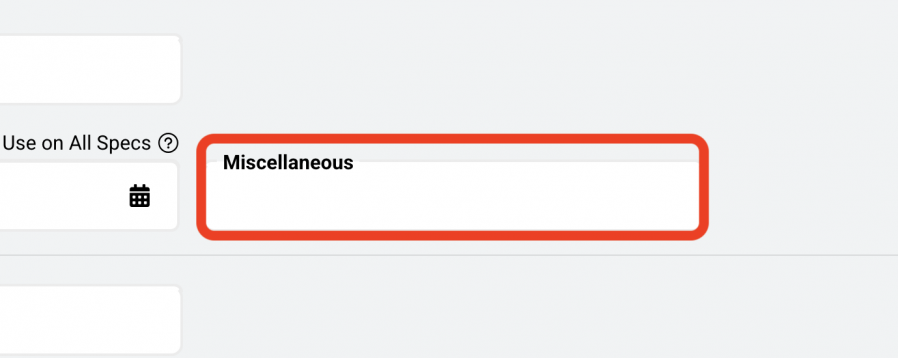
Miscellaneous
The ‘Miscellaneous’ field allows for the inclusion of extra information to be added to the Cover Sheet. A note can be typed directly into this field.
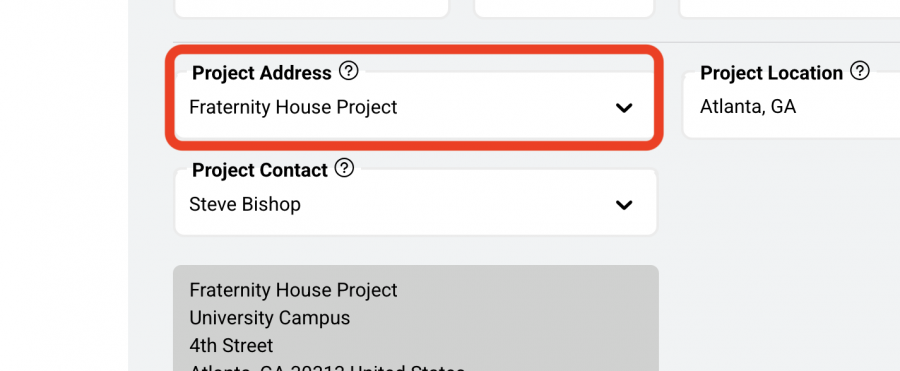
Project Address
OVERVIEW
The Project Address is typically the physical address of the Project location. This address will print on the Cover Sheet. The Project Address information in the dropdown has been created in the Admin > Address Books > Project Addresses page.
Important Fact: Only Super Admin, Admin Panel Managers and Address Book Managers can input Project Addresses in the Admin > Address Books > Project Addresses page.
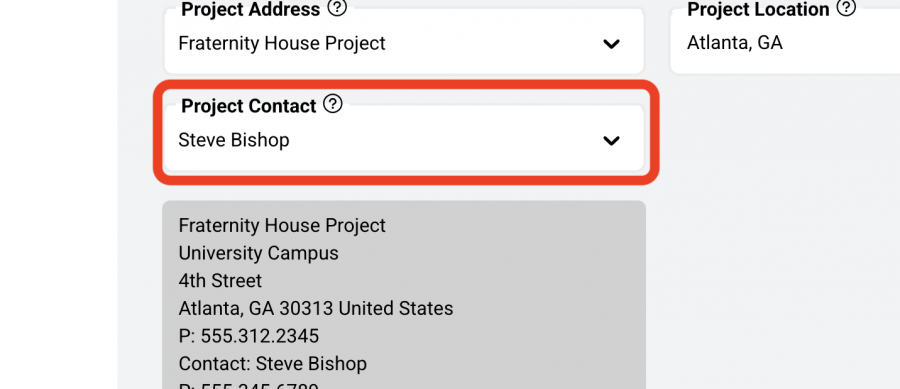
Project Contact
OVERVIEW
Project Contacts are entered in the Admin > Address Books > Project Addresses page. In order to populate the Project Address into the project, a Project Contact must be selected from the Project Contact dropdown.
Important Fact: If there is no contact person, or there is no need to have any contact information, a line item in the Project Address books > Contacts must be created using ‘Default’ as the Contact Name. Therefore, when populating the Project Address field, the user can select ‘Default’ from the Project Contact list in order for the Project Address to be populating with no Project Contact.
Important Fact: Only Super Admin, Admin Panel Managers and Address Book Managers can input Project Contacts in the Admin > Address Books > Project Addresses page.
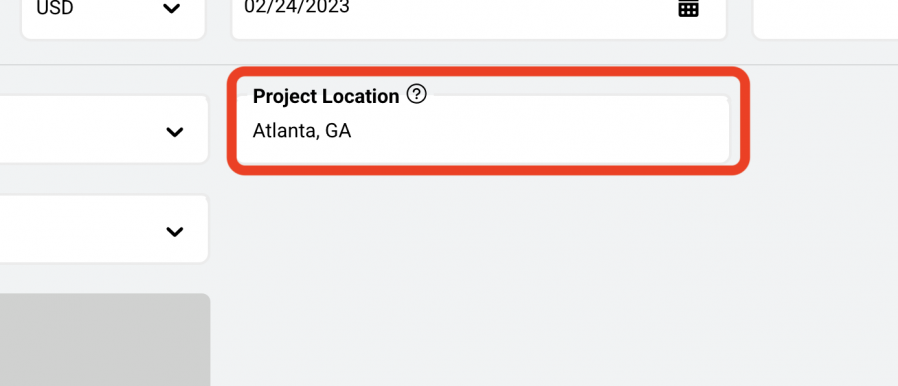
Project Location
The ‘Project Location’ field allows for the inclusion of extra information to be added to the Cover Sheet. A note can be typed directly into this field.
Project Special Instructions
OVERVIEW
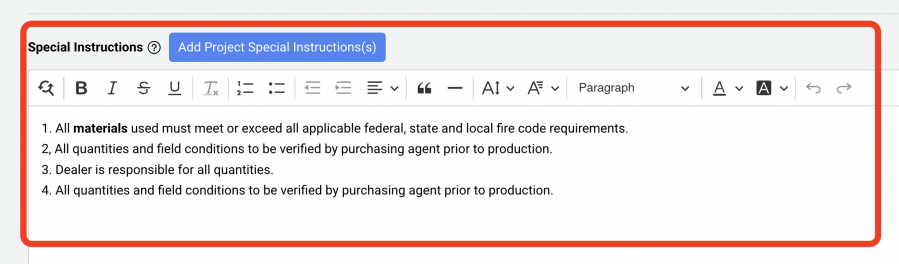
Upon saving a Project, a new section will appear in the Project Info > Main Page related to Project Special Instructions. Project Special Instructions can be manually entered into the text box, or the user can access the Project Special Instructions Library by clicking the blue button, selecting instructions and add them to the Project.
Once added to the project, the instructions format and text can be customized:
Basic word/paragraph formatting, font selections, text highlighting and word background highlighting.
Important Fact: A Project Special instruction is a note that will print on every Spec Sheet regardless of Spec Type. It will print on a table Spec. It will print on a tile Spec. They tend to be fairly generic notes for a Project ie. Must be Contract Quality.
Important Fact: The Project Special Instructions Library is created in the Admin > Libraries > Project Special Instructions page. Only Super Admin and Admin Panel Managers can input Project Special Instructions in the Admin > Libraries > Project Special Instructions page.